


 01782 698558

No products in the cart.

Top 10 Art Activities for Kids
February 3, 2019
Art activities for kids are excellent for nurturing your child’s creativity. They can provide hours of fun, alongside being merged with other areas of learning, such as Drama, Maths, Geography and Science. Not only this, but they can also assist in developing fine motor skills, observational skills and creativity. Below are 10 fun-packed art activities for kids for your child to enjoy!
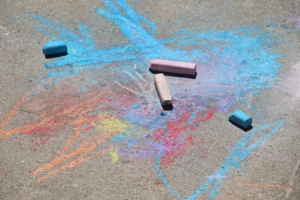
1. Outdoor Chalk Art Activities for Kids
When the weather is warmer, art can be a fantastic way to spend some time outdoors and kids will love creating a wonderful pavement design on the driveway with chalk! Older children may also have fun developing 3D chalk art by drawing on Geometry skills. Be aware though – the rain will wash away those masterpieces, so be sure to snap a photograph before those raindrops appear!
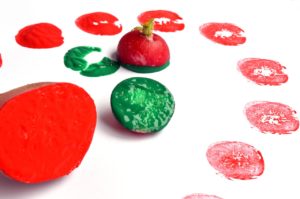
2. Fruit Printing
How about a fun art activity that will make your home smell delicious at the same time? Simply help your child to chop oranges, limes and lemons in half and gently squeeze out the juice. Paint the flat side of the citrus fruit and print onto paper. Top tip: squeeze the fruit over a jug to make some tasty juice for your child to enjoy whilst creating their art piece!
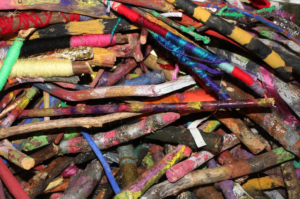
3. Forest Art Activities for Kids
It’s amazing what you’ll find on the ground of a forest! From sticks and stones to leaves and flowers, you name it – nature provides a beautiful canvas for your little artists. Gather resources from your local wood, field or garden and create mesmerizing patterns on the ground. Forest art is an excellent example of art activities for kids that can be enjoyed all year round. With the changing seasons, children can study the different flowers and plants whilst creating their forest art; try and spot a sprig of holly in winter or a blooming daffodil in spring.
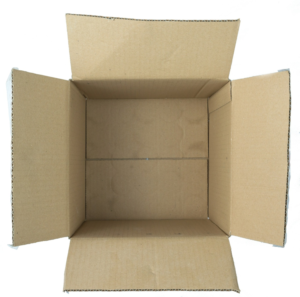
4. Cardboard Box Crafts
Some art activities for kids make use of items you already have at home. Why not combine recycling with an art-fueled activity and give an old cardboard box a new purpose? When it comes to cardboard box crafts, the possibilities are endless. Try building a castle or a maze to crawl through out of your old cardboard boxes! Children can have hours of fun with this activity, whilst developing imaginary play skills.
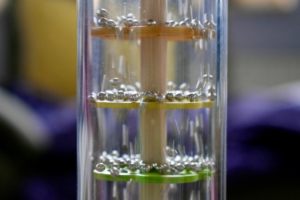
5. DIY Rainmaker
For a mixture of music and art, awaken the visual and auditory senses, whilst developing observational and listening skills with a DIY rainmaker. What’s even better? You probably have most of the equipment already in your kitchen! Here’s a quick step-by-step guide to make a rainmaker…
What you’ll need:
- Cardboard tube (from inside an old kitchen roll)
- Tin foil
- Dried rice
- 1 piece A4 paper
- Cellotape
- Scissors
- Pencil
- Paint
Instructions:
- Grab your cardboard tube, paper, scissors and glue. Begin by drawing two circles using the end of the cardboard tube on the paper. Cut these circles out and Cellotape to one end of the tube.
- Tear off a piece of foil and twist into a long spiral, before placing it inside the tube to make layers inside your rainmaker.
- Pour in a cup of dried rice, then seal the other end of the tube with the remaining paper circle.
- Finally, decorate the outside of the rainmaker with paint to make it look bright and colourful! These poster paint sticks would be a fantastic resource to use.
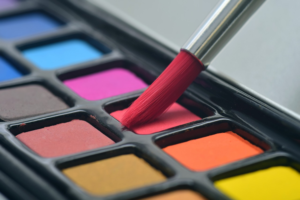
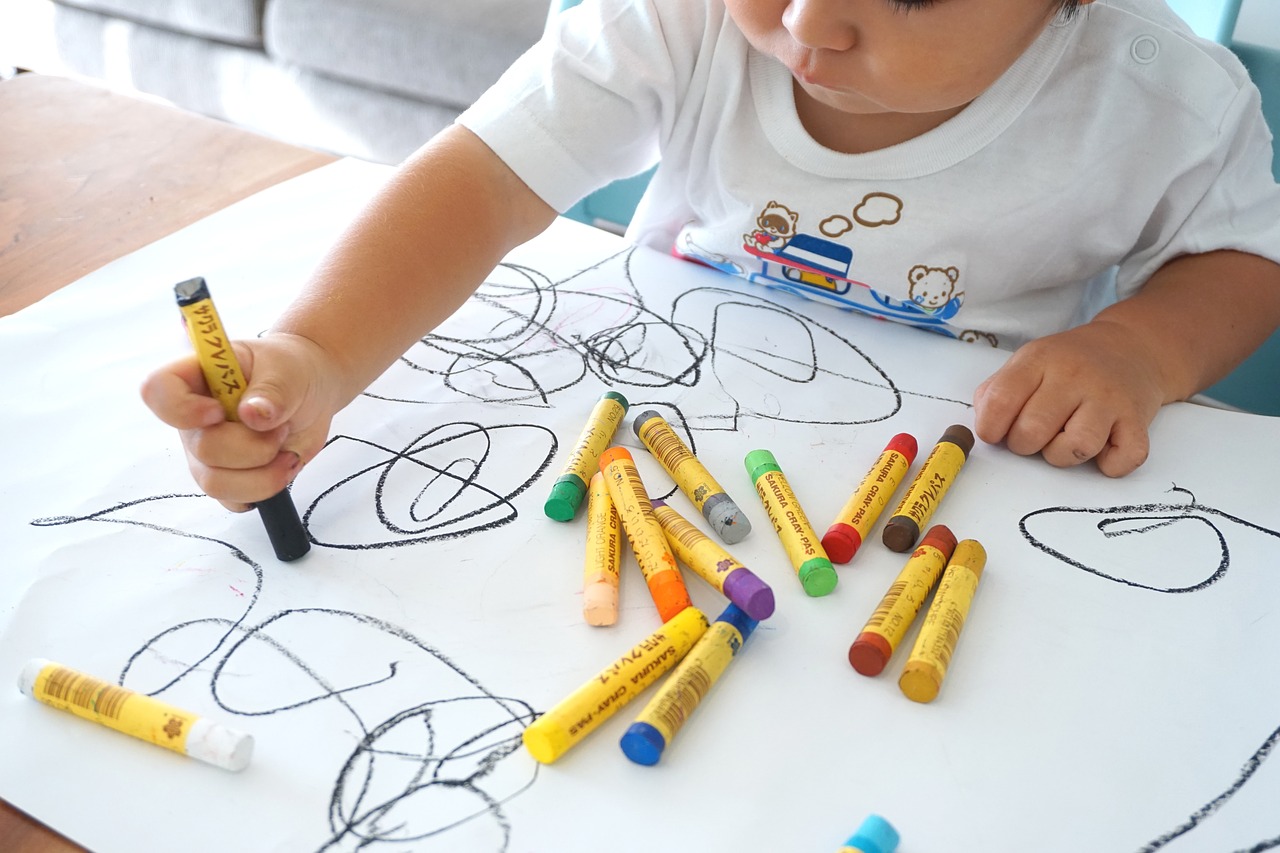
6. Watercolour Art Activities for Kids
Create beautiful images with watercolours whilst developing fine motor skills. Using a paintbrush can help to strengthen the muscles in your child’s hand and improve their fine motor control, a skill transferable to other activities, such as handwriting. Children could bring their surroundings to life with watercolours by painting what they see, such as garden flowers or their favourite toy. Alternatively, it could link to a topic they are studying, so children may paint planets, dinosaurs or flags of the world– the scope for painting with watercolours is endless! Why not also try a wax resist technique? Draw a picture with crayons, paint over it with watercolours and watch how the watercolour and wax will not mix!
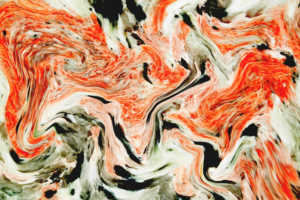
7. Marbling Art
Produce a beautiful marble art piece with oil! Mix ½ tsp of oil with 1 tsp of food colouring or liquid watercolour. Choose as many colours as you like and add the mixtures using droppers to a tupperware container filled with ½ an inch of water. Place a piece of paper (watercolour paper would be best) on the surface, then carefully lift to reveal beautiful marble patterns!
8. Paper Mache Solar System
Design an out-of-this-world masterpiece with paper mache! Pair enjoyment together with learning about the solar system by creating 3D planet sculptures. For children who are fascinated by planets, these glow in the dark stars might make an excellent addition to your child’s solar system design.
What you’ll need:
- An old newspaper
- 1 cup of flour
- 1 cup of warm water
- Masking tape
- Paint brush
- Paint
Instructions:
- Tear some newspaper into strips.
- Mix flour and warm water in a large bowl until it reaches a smooth consistency. Add extra water if needed.
- Scrunch the remaining newspaper into different sized balls to represent the planets. Cover with masking tape.
- Dip newspaper strips into flour mixture and place onto the balls, using a paint brush to smooth out bumps. Leave to dry before adding further layers.
- Paint the balls in the different colours of the planets. You can find some fabulous metallic paint sticks here.
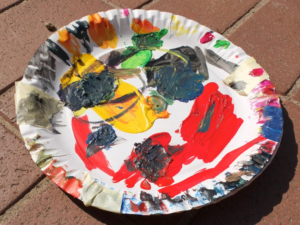
9. Paper Plate Masks
Encourage imaginative play with homemade paper plate masks; children can paint their favourite animal onto a plate and attach string to make it into a mask. This could be combined with learning about where various animals live, the different sounds they make and the foods they eat. Alternatively, encourage imaginative play and develop acting skills with some drama, by creating and performing a story with the animal masks.

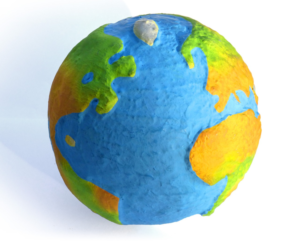
10. Play Dough Earth Models
Some art activities for kids can support your child’s learning in areas such as Science and Geography! Using different coloured play dough, carefully create a model of the Earth to recreate its layers and label with stickers on cocktail sticks. Start by rolling up a small red ball of playdough for the Inner Core, cover with an orange layer for the Outer Core and add a yellow layer for the Mantle. Finish with a blue layer for the Crust and create the continents with green playdough shapes.